How To Open and Run Exe Files On Mac
Most programs and apps are compatible with Windows and macOS. However, if you have a .exe, you cannot run it. If you are wondering if there is a way to run .exe files, you are in luck. We have a workaround to achieve it.

For whatever reason you want to run an executable file, this post covers it and explains a complete guide on opening EXE files on Mac.
Let’s begin!
What are .EXE Files?
Before we start, lets’ get a quick understanding of the .exe files and how they operate. Short form for “Executable” files, .exe is a recognizable file format on Windows & it contains an encoded sequence of instructions to run the file. Therefore, when the user double-clicks the setup file, it automatically gets executed. Moreover, the EXE file contains low-level binary machine code that the CPU interprets to run a program.
However, this Windows-specific file format is incompatible with macOS. Therefore, if you want to use it, use Apple’s Boot Camp utility.
How to Run EXE Files on Mac Using Bootcamp?
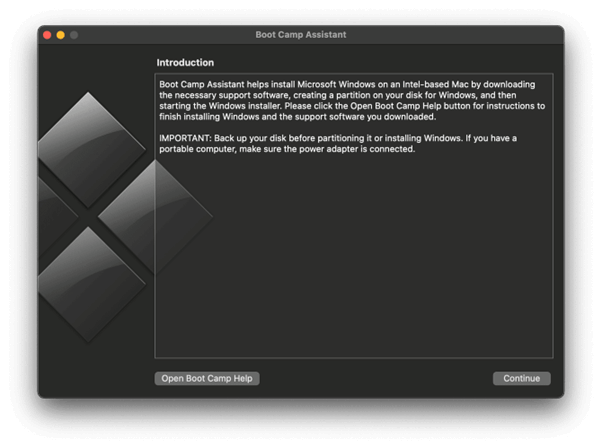
The Bootcamp Assistant is an in-built utility on macOS that allows simultaneously installing Windows on Mac and switching between the two operating systems. Yes, you heard that right. With the help of Bootcamp Assistant, you can run Windows programs on Mac like a breeze.
If you own an Intel-based Mac, you can use Bootcamp Assistant, a free native macOS utility, to create a separate partition on your hard disk & install Windows. To use it, follow the instructions below:
Step 1: Check the Device Compatibility
The following Mac models are compatible with Bootcamp Assistant. If your device is compatible, you can proceed to the next step.
- MacBook (2015 and later)
- MacBook Pro (2012 and later)
- MacBook Air (2012 and later)
- iMac (2012 and later)
- Mac Mini (2012 and later)
Step 2: Technical Requirements
Your Mac needs at least 55 GB of free storage space for installing Windows using Bootcamp. If your device Mac is running out of storage space, you must get rid of junk files and obsolete data. Using Cleanup My System, you can make this task easier.
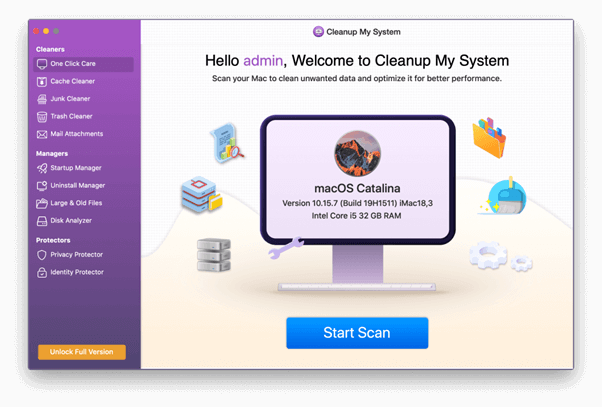
Download and install “Cleanup My System” For Your Mac.
Get Cleanup My System
What is Cleanup My System?
Cleanup My System is an efficient tool that will help optimize your Mac, free up storage space, restore system speed and improve the overall performance of your Mac.
Step 3: Backup Your Mac
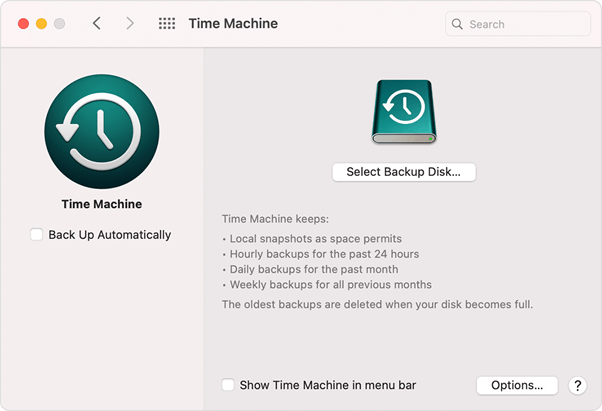
Backing your device is extremely important to ensure you don’t lose any data during installation. You can quickly restore your device using the backup if anything goes. So, create a backup of your Mac using Time Machine.
Once your Mac is backed up, proceed to the next step.
Step 4: Download the Windows ISO File
Launch any preferred web browser on your Mac and visit this link. Scroll down, select Windows edition, and move to the “Download Windows 11 Disk Image” section.
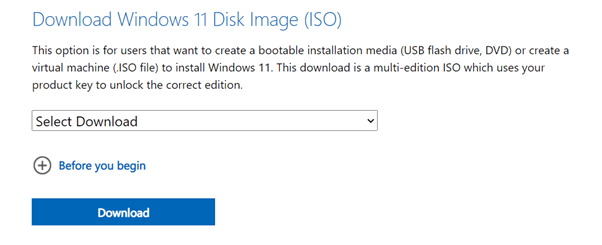
Hit the Download button to download the Windows 11 ISO file on your Mac.
Step 5: Launch the Bootcamp Assistant
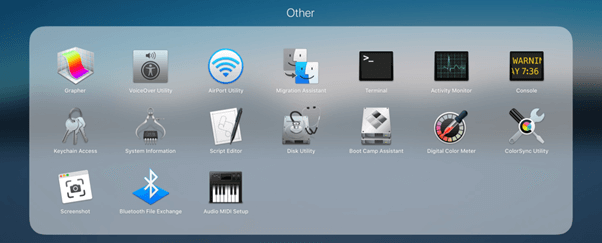
Head to the Applications> Utilities folder and select “Bootcamp.”
As soon as you launch the Bootcamp Assistant on your Mac, it will automatically locate the recently downloaded Windows ISO file.
Step 6: Create a Windows Partition.
Follow the on-screen instructions on the wizard to create a partition and install Windows on your device. Hit on the “Install” button to proceed.
When the installation process is completed, reboot your Mac. Power ON your Mac while holding the Option (Alt) key. Mac will now offer your two options of which drive you would like to boot.
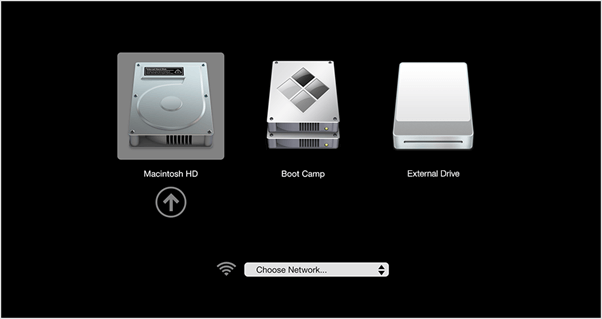
Select “Bootcamp” to load the Windows OS.
Step 7: Run the EXE File.
Here comes the final step! Once your Mac boots in Windows mode, run the exe file by simply double-tapping on it as you do on Windows.
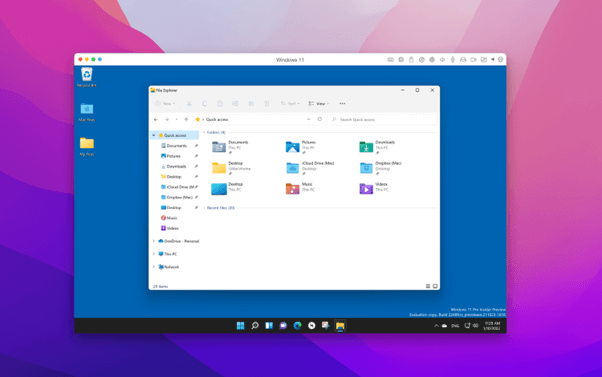
And that’s it, folks!
Running EXE Files on Mac
So, here’s how you can open and run EXE files on Mac using Bootcamp. It’s not as challenging as you think! You can follow our above-listed guide to run exe on Mac.
If you find this process tedious, you can use third-party virtual machine tools to get the job done. Some of our best picks include Parallels Desktop, VMware Fusion, Wine, and so on.
Was this post helpful? Feel free to share your thoughts in the comments section.


 How To Open RAR Files On macOS
 Best Ways To Delete Temp Files On Mac
 10 Best Duplicate File Finders for Mac In 2024
 How to Recover Deleted Data Files on Mac
 How to Delete System Log Files on Your Mac