How to Uninstall McAfee on Your Mac: Step-by-Step Uninstallation Guide!

McAfee is popular antivirus software that protects against malware, viruses, and other online threats on Macs. However, there may come a time when you decide to no longer use McAfee. Isn’t it? Well, uninstalling McAfee completely can sometimes be tricky, as it embeds itself into your system deeply. In this article, we’ll provide a step-by-step guide on how to uninstall McAfee on Mac.
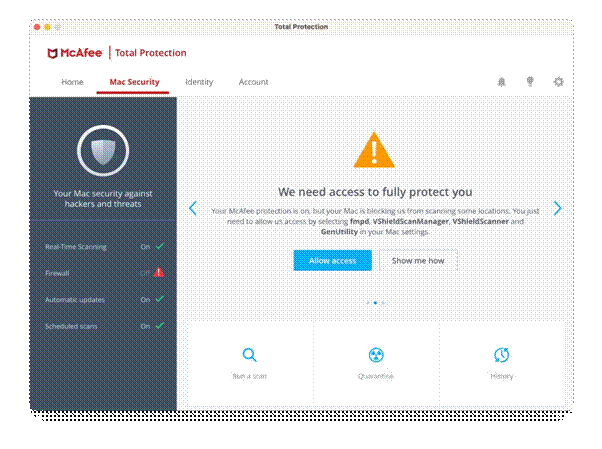
We’ll cover steps on how to remove McAfee from Mac using a dedicated uninstaller software, deleting associated files and folders, uninstalling through the command line, and using a third-party app cleaner.
By following the instructions carefully, you’ll be able to get rid of McAfee and free up system resources being used by unnecessary background processes.
Let’s get started!
Also read: Best Anti-Malware Software For Mac
How to Uninstall McAfee on Mac?
Step 1: Uninstall Through the McAfee Uninstaller
The easiest way to uninstall McAfee is by using the uninstallation program. Here is how to do it:
Step 1: Make sure that McAfee is completely shut down and not running in the background. Also, close any open web browsers.
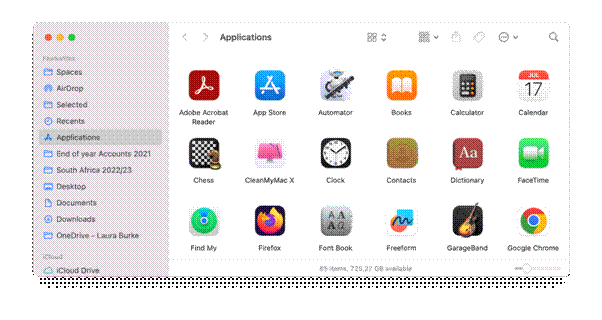
Step 2: Go to your Applications folder using the Finder. Locate the McAfee Uninstaller application. Double-click on it to initiate the Uninstaller.
Step 3: Click on “Continue,” provide your administrator credentials, and then select “Finish.”
This will uninstall the main antivirus software alongside the associated files and settings. If you can’t locate the uninstaller app, don’t worry. You can follow these alternative steps:
Once again, make sure McAfee and all your browser windows are completely closed. Navigate to your Applications folder using Finder. Drag the McAfee application icon into your Trash.
However, some leftover folders and processes may remain. We’ll need to remove these manually.
The McAfee uninstaller only removes the main software, so you’ll likely still have remnants left behind. Next, we’ll go through manually deleting the leftover folders and preferences.
Also read: How to Uninstall Adobe Creative Cloud on Mac: Step-by-Step Guide
Step 2: Delete Remaining McAfee Files and Folders
Here comes another crucial step in our guide on how to uninstall McAfee on Mac. After using the uninstaller, check your computer for any remaining McAfee files and folders and delete them. Here are some locations to check:
- Users/[your user name]/Library/Application Support/ – This folder may contain some McAfee configuration and data files. Delete any folders or files with “McAfee” in the name.
- Users/[your user name]/Library/LaunchAgents/ – Launch agents that start McAfee processes may remain here. Delete any files containing “McAfee”.
- Users/[your user name]/Library/LaunchDaemons/ – Delete any McAfee launch daemons you find here.
- Applications/McAfee -Though uncommon, this folder may remain with uninstalled McAfee applications. Move it to the trash.
- Library/Application Support/McAfee/ – Check for any residual files and delete them.
- Library/Receipts/ – The McAfee installer files may be left here. Delete the “McAfee” folder.
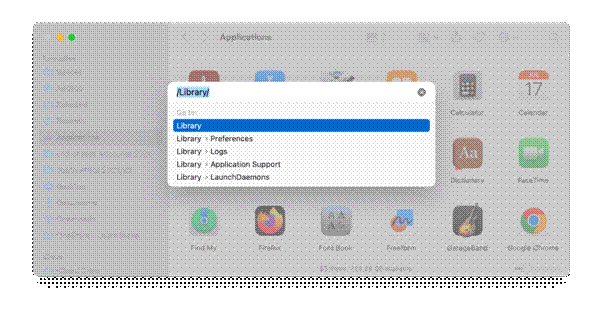
After checking these locations, also open the Finder menu and click “Go > Go to Folder” and delete any McAfee files/folders that appear in the following system-level directories:
- /Library/LaunchAgents
- /Library/LaunchDaemons
- /Library/Receipts
Reboot your Mac after deleting these files to clear any running McAfee processes from memory.
Manually removing all folders and configurations is important for getting every last piece of McAfee off your system.
Also read: How to Uninstall Chrome on Mac: A Comprehensive Guide
Step 3: Uninstall from Terminal
For thorough uninstallation, you can also remove McAfee via the command line. Here is the procedure:
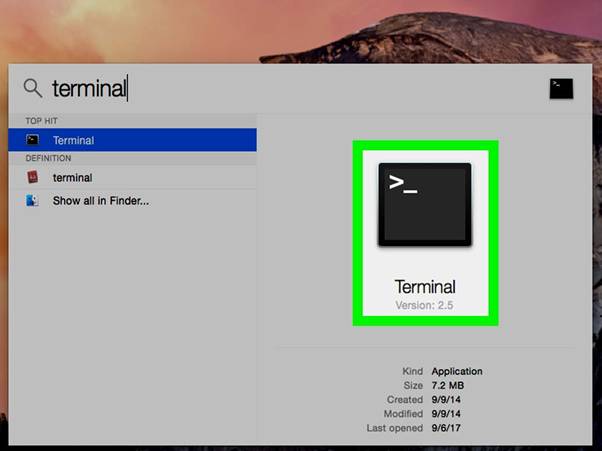
Step 1: Open the Terminal app on your Mac. You can find it in /Applications/Utilities/
Step 2: Type “sudo /Library/McAfee/mfeuninstall” and hit enter. This will launch the uninstall utility. When prompted, enter your administrator password and press enter.
Step 3: Follow the on-screen prompts to complete the uninstall process. Restart your Mac once finished.
After your system reboots, run the following command to locate and delete any leftover McAfee files:
sudo find / -name “McAfee” -print -delete
This will search the entire file system and delete any remaining files with “McAfee” in the name.
Next, run the following command:
sudo pkill -f -i “McAfee”
This will force quit any running McAfee processes.
Finally, run:
sudo rm -rf ~/Library/Preferences/com.McAfee.*
To remove associated preferences.
Using Terminal to uninstall gives you more control over deleting McAfee from your Mac system directory. Be very careful when running the “sudo” commands as they have full access to make changes.
Also read: How to Uninstall Google Drive From Mac
Step 4: Use a Third-Party Uninstaller
For complete removal, you can also use a dedicated third-party uninstaller app. Applications like Cleanup My System and AppCleaner include special uninstallers that can detect and remove all files and components related to a particular program.
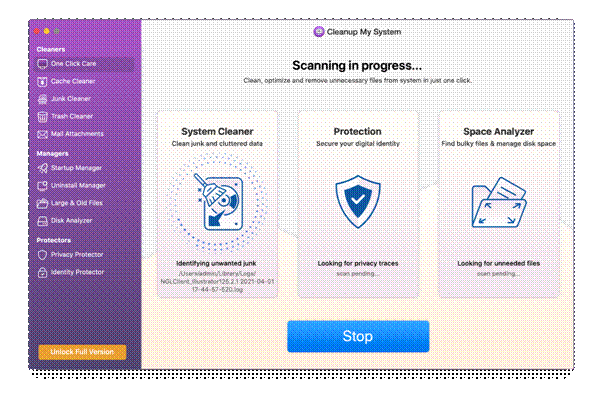
Get Cleanup My System
Using a dedicated McAfee uninstaller is the most thorough way to remove McAfee completely while ensuring no traces are left behind. This completes the full uninstallation process.
Final Step: Saying Goodbye to McAfee on Your Mac!
Following this complete guide will help you fully uninstall McAfee antivirus from your Mac. By using the provided uninstaller, manually deleting files, uninstalling through Terminal, and using a third-party app, you can ensure every component of McAfee is removed for good. This will free up space on your system and get rid of unnecessary background processes from running. Your Mac will run cleaner and smoother without McAfee installed.


 How to Uninstall Adobe Creative Cloud on Mac: Step-by-Step Guide
 How to Uninstall Chrome on Mac: A Comprehensive Guide
 How To Uninstall Node From Mac
 How to Uninstall Steam on Mac [Best Ways]